Roles
Manage Roles
The Roles feature allows administrators to restrict identity permissions for performing privileged actions in the Secure Access admin console. For example, administrators can define a group called "Help Desk Admins" with permissions to perform limited privileged actions, like sending enrollment emails but not deleting identities.
Create a Role
-
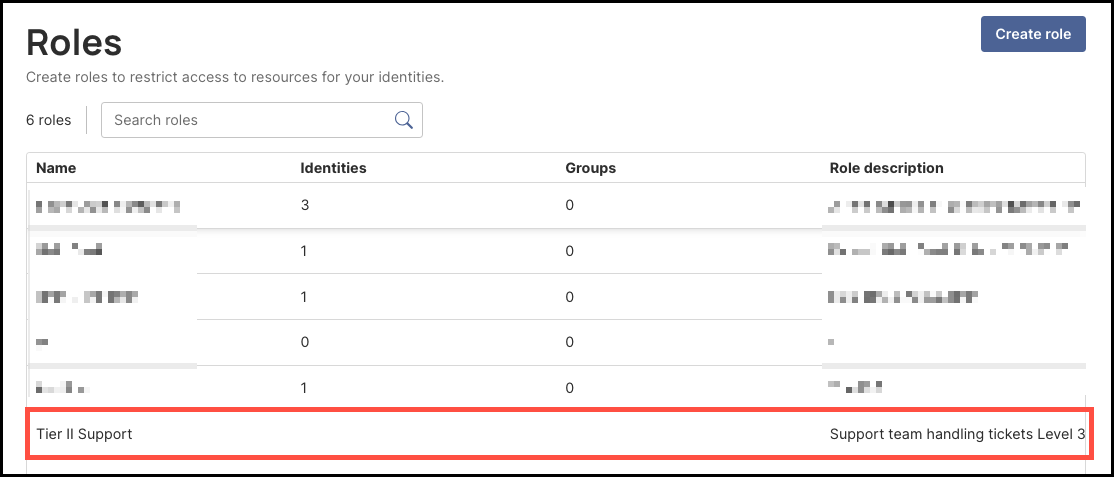
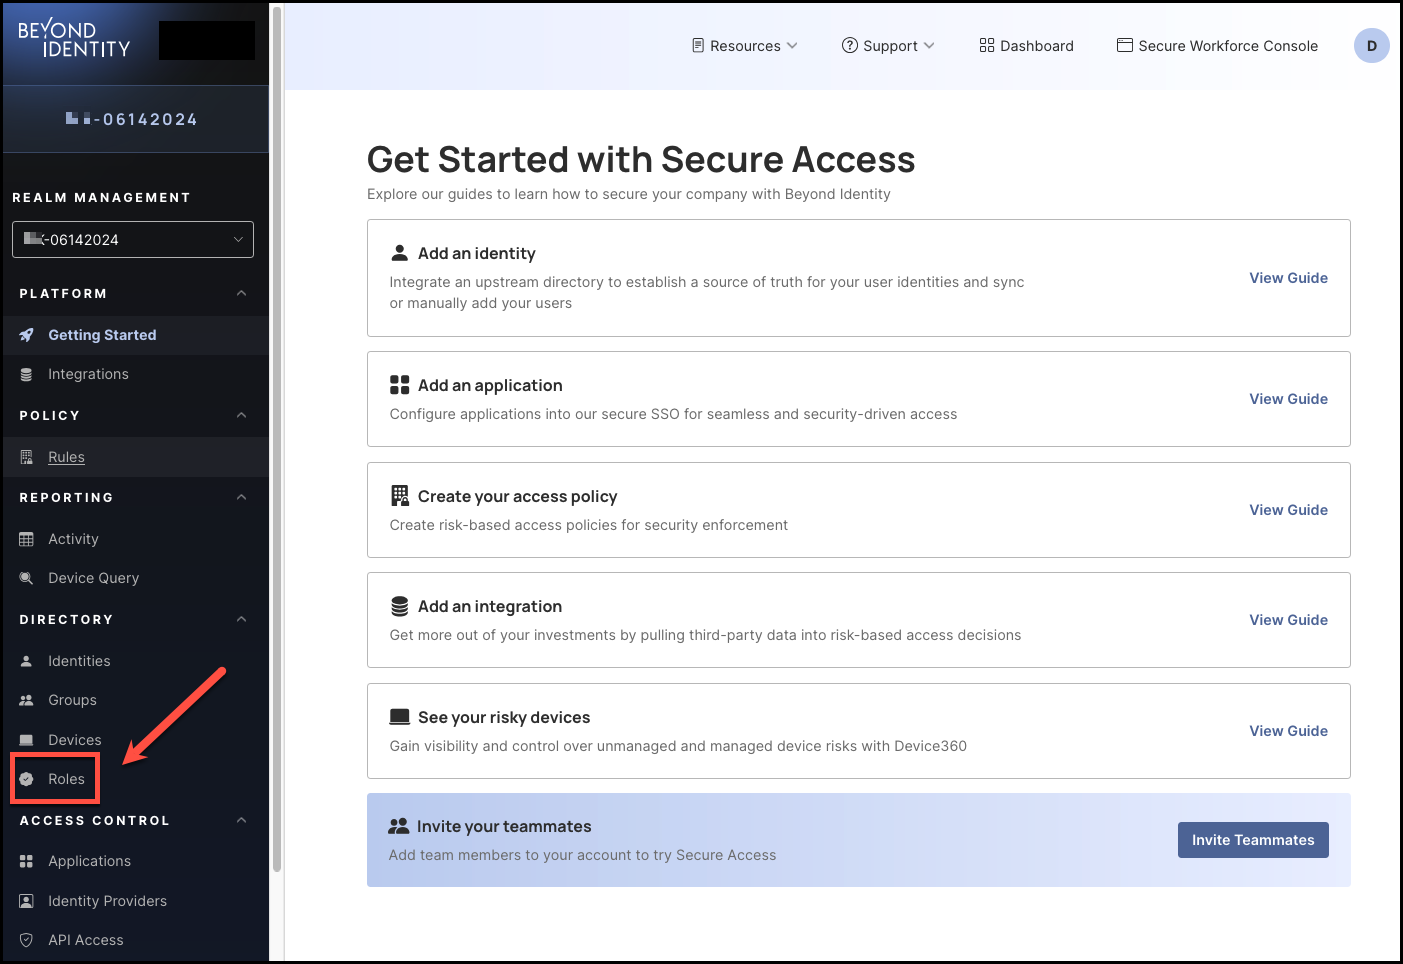
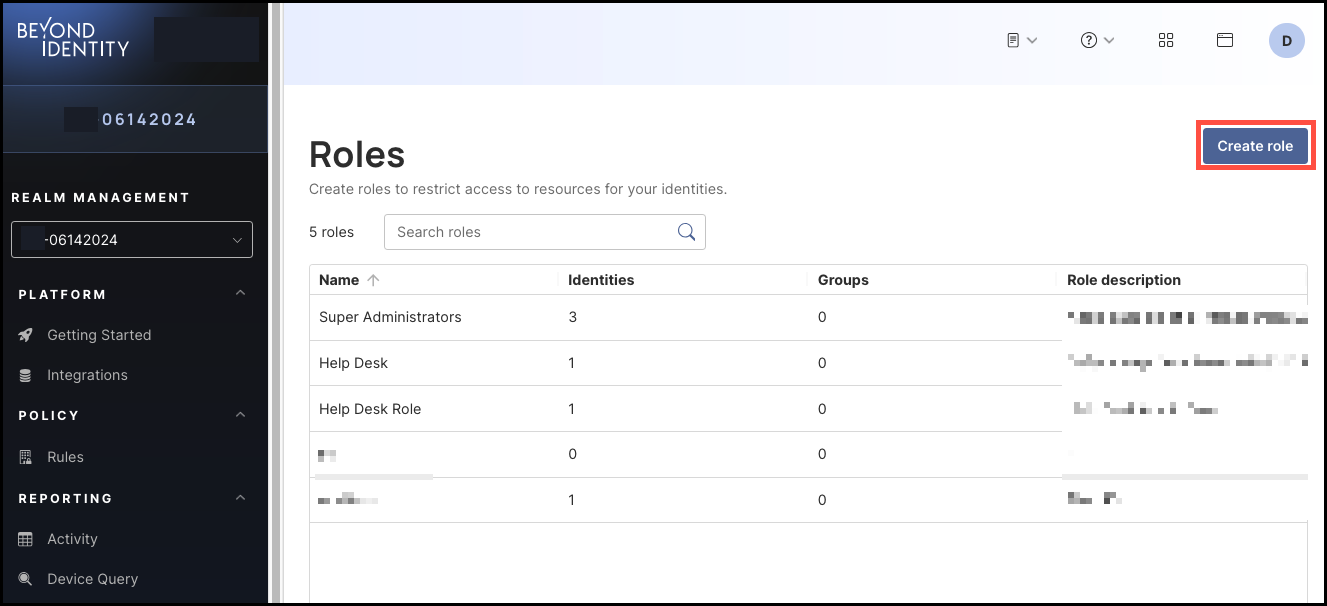
Navigate to Directory > Roles and click Create Role.
-
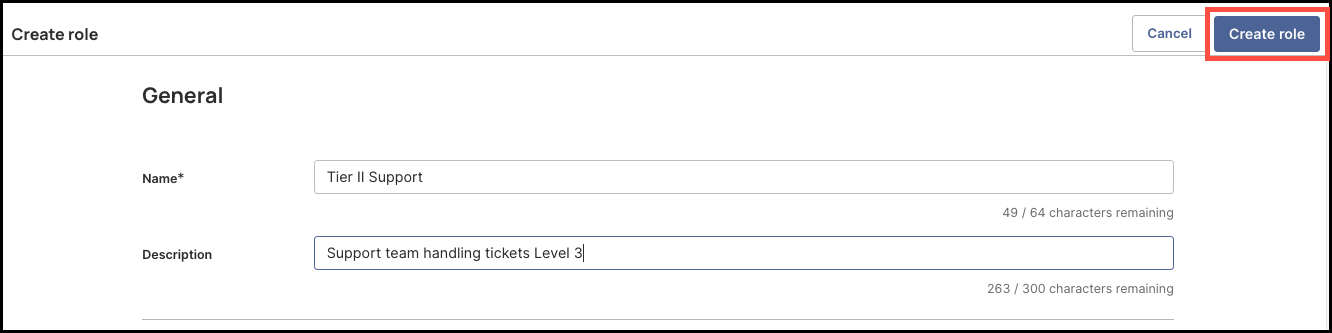
Enter a name and an optional description for the role.
-
Click Create role.
Edit or Delete a Role
-
Navigate to Directory > Roles and click a role name.
-
Click Edit role.
-
Update the fields as needed and click Save changes.
-Or-
Click Delete role role_name.
Add an Identity to a Role
-
Navigate to Directory > Roles and click a role name.
-
Click the Identity tab, if needed.
-
Click Add identity.
-
Enter a username to search identities or click the drop-down beside Select identity to select a user to add.
You can enter or select mulitple users from this field.
-
Click Add to role. Any selected identities appear on the page.
To remove an identity from the role, select the checkbox beside a username in the table and click Remove identity from role.
Add a Group to a Role
-
Navigate to Directory > Roles and click a role name.
-
Click the Groups tab.
-
Click Add group.
-
Enter a group to search existing groups or click the drop-down beside Select group to select a group to add.
You can enter or select mulitple groups from this field.
-
Click Add to role. Any selected groups appear in the table.
Note: Any users in the group will be added to the role but they won't appear under the Identities tab.
To remove a group from a role, select the checkbox beside a group in the table and click Remove group from role.
--
Customize Role Permissions
You can create and assign custom roles with granular, least-privilege permissions, specifying exactly which actions each role can perform, for example, allowing help desk staff to reset credentials or enabling application owners to manage app assignments.
This feature helps reduce the number of high-privilege accounts, lowers the attack surface and insider risk, and supports compliance with access control requirements.
How to Customize Role Permissions
Steps
-
To customize a role's permissions, click Roles from the left-hand navigation panel.
-
Create a new role or select an existing one from the Roles table. For this walkthrough, click Create Role.
-
Enter the following information for the role you are creating:
- Name
- Description
- Then, in the Identities section, select the permissions the new role needs for managing identities (if any):
- Read Identities - View list of all identities and individual profiles
- Create Identities - Create identity profiles
- Update Identities - Update identity profiles and manage identity status (suspend, reactivate)
- Delete Identities - Permanently delete identities
- In the Passkeys section, select all the permissions the new role needs for passkey management (if any):
- Read passkeys - View list of passkeys
- Create passkey emails - Create enrollment emails
- Create passkey links - Send enrollment links
- Create passkey via any method - Send enrollment of every kind
- Revoke passkey emails and passkey links - Revoke enrollment emails and enrollment links after they have been sent
- Update passkeys - Manage enrollment emails and revoke passkeys
- Delete passkeys - Permanently delete passkeys
- Select the Groups permission for the new role (if any):
- Read groups - View list of groups
- Create groups - Create groups
- Update groups - Update group details
- Delete groups - Permanently delete groups
Note: To allow the role to manage users in a Groups, select the Read Identities permission under Identities (Step 4).
- Select the permissions for management of Devices for the new role (if any):
- View devices – List all devices in the fleet, see statistics
- Add devices – Add new devices
- Update devices – Update devices details
- Delete devices – Permanently remove devices
- Select the Roles permissions for the new role (if any):
- Read roles – View list of roles
- Create roles – Create roles
- Update roles – Update roles
- Delete roles – Permanently delete roles
- Select the Events permissions for the new role (if any):
- Read events – View list of events
- Select the Applications permissions for the new role (if any):
- Read applications – View list of applications
- Read application secrets – The ability to view secrets that are associated with applications
- Create applications – Create applications
- Update applications – Update application configurations
- Delete applications – Permanently delete applications
- Read app tiles – Read app tiles
- Create app tiles – Create app tiles
- Update app tiles – Update app tiles
- Delete app tiles – Delete app tiles
Note: To allow the role to manage identities for an application, select the Read Identities permission under Identities.
To allow the role to manage groups for an application, select the Read Groups permission under Groups.
- Select the Identity Providers permissions for the new role (if any):
- Read Identity Providers – View list of Identity Providers
- Create Identity Provider – Create Identity Provider
- Update Identity Provider – Update Identity Provider details
- Delete Identity Provider – Permanently delete Identity Provider
- Select the API Access permissions for the new role (if any):
- Read API Access – View API Access details and access tokens
- Update API Access – Create API Access Tokens
- Delete API Access tokens – Permanently delete API Access Tokens
- Select the Device Query permissions for the new role (if any):
- Read custom attributes – Read custom attributes
- Create custom attributes – Create custom attributes
- Update custom attributes – Update custom attributes
- Delete custom attributes – Delete custom attributes
- Select the Manage Attributes permissions for the new role (if any):
- Read managed attributes – Read managed attributes
- Create managed attributes – Create managed attributes
- Update managed attributes – Update managed attributes
- Delete managed attributes – Delete managed attributes
- Select the Policy permissions for the new role (if any):
- Read policy – View list of policy
- Update policy – Update policy rules
- Select the Branding permissions for the new role (if any):
- Read branding – View branding configuration
- Create branding – Create branding configurations
- Update branding – Update branding configuration
- Select the Integrations permissions for the new role (if any):
- Read integrations – View list of integrations
- Create integrations – Create integrations
- Update integrations – Update integrations details
- Delete integrations – Permanently delete integrations
- Select the Realms permissions for the new role (if any):
- Read realms – Read realms
- Create realms – Create new realms
- Update realms – Update realms
- Delete realms – Delete realms
- Select the Administration permissions for the new role (if any):
- Update tenant – Ability to update tenant-level settings
- Introspect tokens – Ability to introspect tokens assigned to a user
-
After you are finished selecting all the permissions for the new role, click Create Role, on the top right corner of the page.
-
Once created, the new role will now appear in the Roles table.