Okta
This guide is designed to offer step-by-step instructions to integrate Beyond Identity with your Okta environment, and to enable your end users to authenticate with phishing resistant, passwordless authentication. Specifically, you will learn how to:
- Configure Beyond Identity as the primary phishing-resistant, passwordless authentication method for your Okta environment.
- Configure Okta to delegate authentication to Beyond Identity to enhance security and the user experience.
Prerequisites
To ensure a smooth integration process, please confirm the availability of the following prerequisites and settings within your Okta account.
Create an Okta Account
This guide assume you already have an Okta account provisioned. If you need to create one, Click here.
Okta Account Access
Ensure you have either Super Admin or Organization Admin privileges.
Why is this required?
Having Super Admin or Organization Admin privileges enables you to:
- Add or edit attributes and their mappings via
Directory > Profile Editor. - Add or edit Identity Providers (IdPs) through
Security > Identity Providers. - Add or edit routing rules in
Security > Identity Providers > Routing Rules.
Okta Feature Verification
Confirm that the following features are active on your account:
OpenID Connect IdP
Verify this by checking if you can navigate to Security > Identity provider > Add Identity Provider > Add OpenID Connect IdP. If this option is unavailable, you will need to contact Okta support to enable it.
Routing Rules
Ensure the "Routing Rules" tab is visible under Security > Identity Providers. If it is missing, contact Okta support to request its activation on the Identity Provider page.
🔵 Create a Beyond Identity Account
To create a Beyond Identity account, please click here.
Legend
In the following sections, a color-coded indicator has been added to a heading to help identify whether the steps should be performed using Beyond Identity or a different application.
🔵 Beyond Identity: Actions to be performed in the Beyond Identity platform are highlighted in blue.
🟠 Okta: Actions to be performed in the Okta platform are highlighted in orange.
1. Create a Custom Attribute
🟠 Create Custom Attribute in Okta User Profile
To enable Okta to automatically direct users registered with Beyond Identity towards a passwordless authentication flow, create a custom attribute named "byndidRegistered" on an Okta User's profile.
🟠 Update Custom Attribute in Okta User Profile
Once you've created the "byndidRegistered" attribute, update the profile source to inherit from Okta.
2. Configure your Okta Identity Provider
🔵 Create an Identity Provider in Beyond Identity
Enable Okta to use Beyond Identity for authentication by setting it up as an identity provider. This is achieved by creating an identity provider within the Beyond Identity Admin Console. Follow the steps here to create a generic OIDC Identity Provider. Return to this guide once you've created a generic OIDC Identity Provider in Beyond Identity.
🟠 Create an Identity Provider in Okta
Create an OpenID Connect Identity Provider in Okta.
🟠 Configure the Identity Provider in Okta
Configure the OpenID Connect Identity Provider in Okta with the following values and click finish to save the Idp:
| Field | Expected Value |
|---|---|
| Name | Beyond Identity |
| IdP Usage | SSO only |
| Scopes | email openid |
| Client ID | Copy over from important values in the Beyond Identity IdP |
| Client Secret | Copy over from important values in the Beyond Identity IdP |
| Issuer | Copy over from important values in the Beyond Identity IdP |
| Authorization endpoint | Copy over from important values in the Beyond Identity IdP |
| Token endpoint | Copy over from important values in the Beyond Identity IdP |
| JWKS endpoint | Copy over from important values in the Beyond Identity IdP |
| IdP username | idpuser.email |
| Match against | Okta Username |
| Account Link Policy | Automatic |
| Auto-Link Restrictions | None |
Upon creating the Identity Provider in Okta, copy the redirect URI:

🔵 Configure the Identity Provider in Beyond Identity
Head back to the identity provider you already created by navigating to Auth & SSO > Identity Providers and clicking on the identity provider. Copy the redirect URI from the Identity Provider in Okta into the redirect URI fields in Beyond Identity.
🟠 Configure IdP Routing Rules
Configure your Identity Provider routing rules in Okta to enable redirection to Beyond Identity when the byndidRegistered user attribute is set to true. To create a new routing rule, navigate to Security > Identity Providers and click on the Routing Rules tab.
🔵 3. Add Users to Beyond Identity's Directory
Option 1: Add Identities Manually
In order to manually add identities directly to Beyond Identity:
- Go to Directory > Identities > Add identity > Manual Entry
- Enter the name, username, and email of the new user.
- Click Add Identity.
Option 2: Enable Using SCIM
In order to enable user syncing between Okta and Beyond Identity, follow the guide here. Return to this guide once you've enabled user syncing between Okta and Beyond Identity.
���🔵 4. Send Passkey Enrollments
Option 1: Email
- Go to Directory > Identities.
- Click on Add a Passkey.
- Set delivery method to Send an email to user.
- Click on Proceed & send email.
Option 2: API
- Go to Directory > Identities.
- Click on Add a Passkey.
- Set delivery method to Generate curl for link from the API.
- Click on Generate curl.
- Execute the curl request using the terminal.
- Send the
credential_binding_linkfrom the response to your employees using any delivery method.
See the API here for more details.
5. Managing User Access
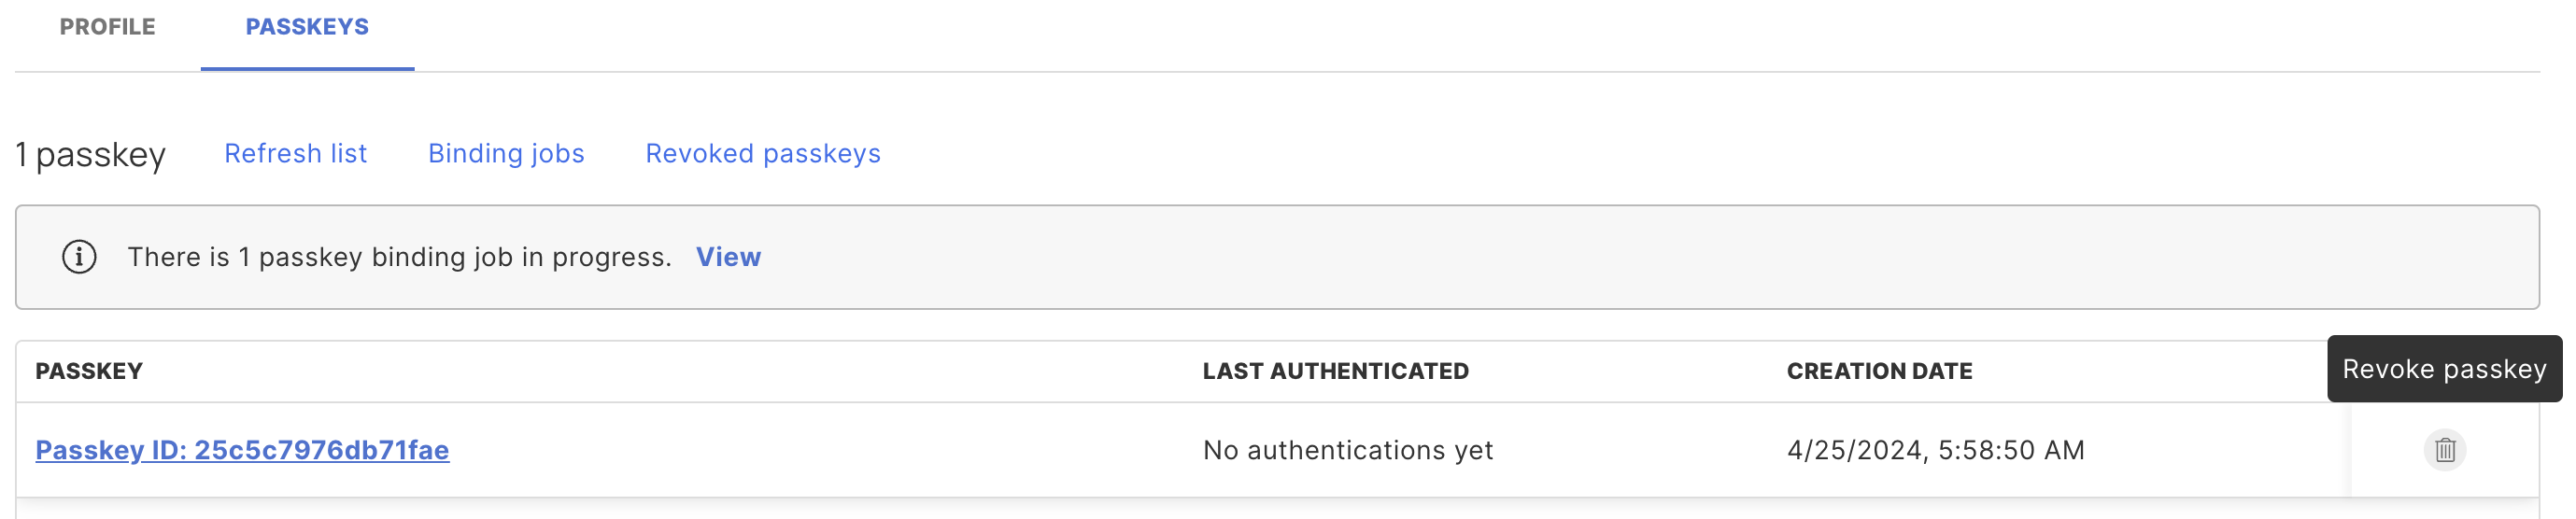
🔵 Disable Beyond Identity Authentication
To disable Beyond Identity authentication for a specific user:
- Navigate to Directory > Identities.
- Click on the Identity you want to disable.
- Select the Passkeys tab.
- Click on Revoke Passkey.