Overview
Nametag provides verified identity authentication using secure, government-issued ID verification. It helps organizations verify users’ real-world identities quickly and safely, reducing fraud and improving risk while increasing trust in identity assertions.
This integration allows you to:
- Synchronize users from the Beyond Identity Directory into a Nametag tenant.
- Use Nametag as a delegate OIDC Identity Provider (IDP) during enrollment flows that are authorized through another IDP.
Once configured, users authenticating through your primary IDP can be additionally verified by Nametag during enrollment.
Prerequisites
Before you begin:
- Administrative access to the Nametag Console.
- Administrative access to the Beyond Identity Admin Console.
- A working Beyond Identity tenant with Directory enabled.
- A working Nametag tenant.
Recommended: Create a separate Nametag test environment before configuring in production.
Part 1 — Directory Synchronization
This section connects Beyond Identity to Nametag so user identities can be shared between systems.
Step 1 — Select the correct Nametag environment
Where: Nametag Console
- Confirm you are in the correct Nametag environment (Test or Production).
- If needed, create or switch to a dedicated test environment.
Step 2 — Create a Beyond Identity directory in Nametag
Where: Nametag Console
-
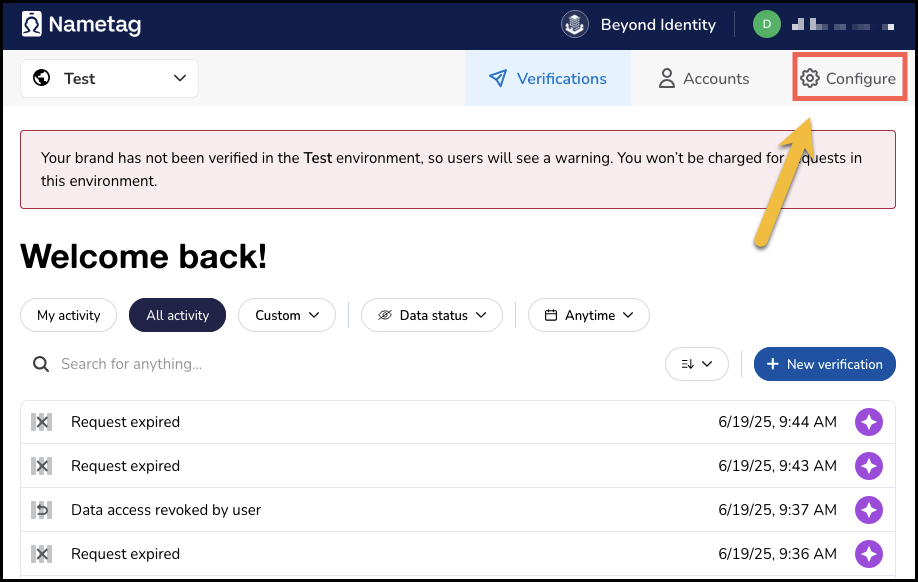
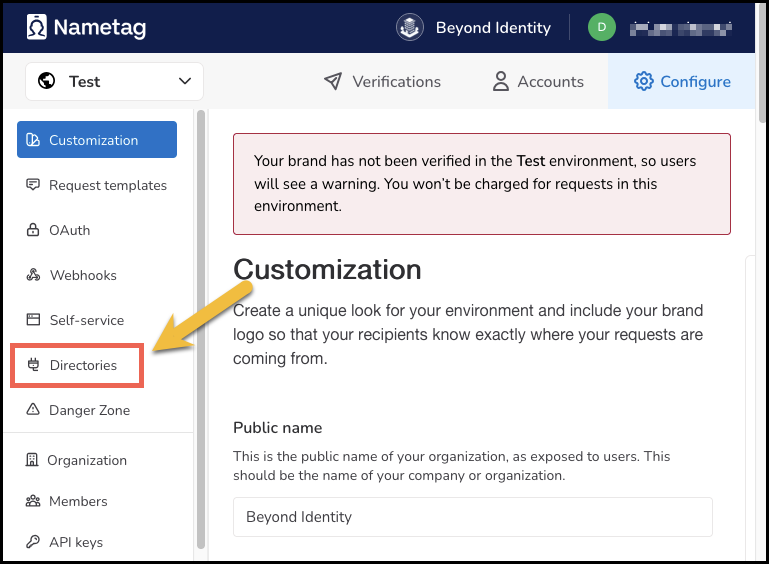
Navigate to Configure.
-
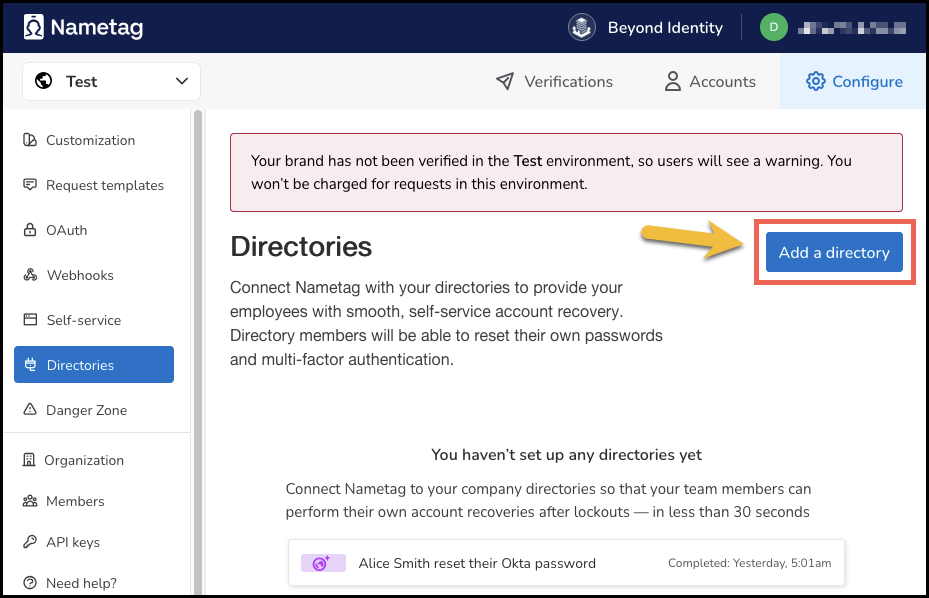
Click Directories from the left navigation.
-
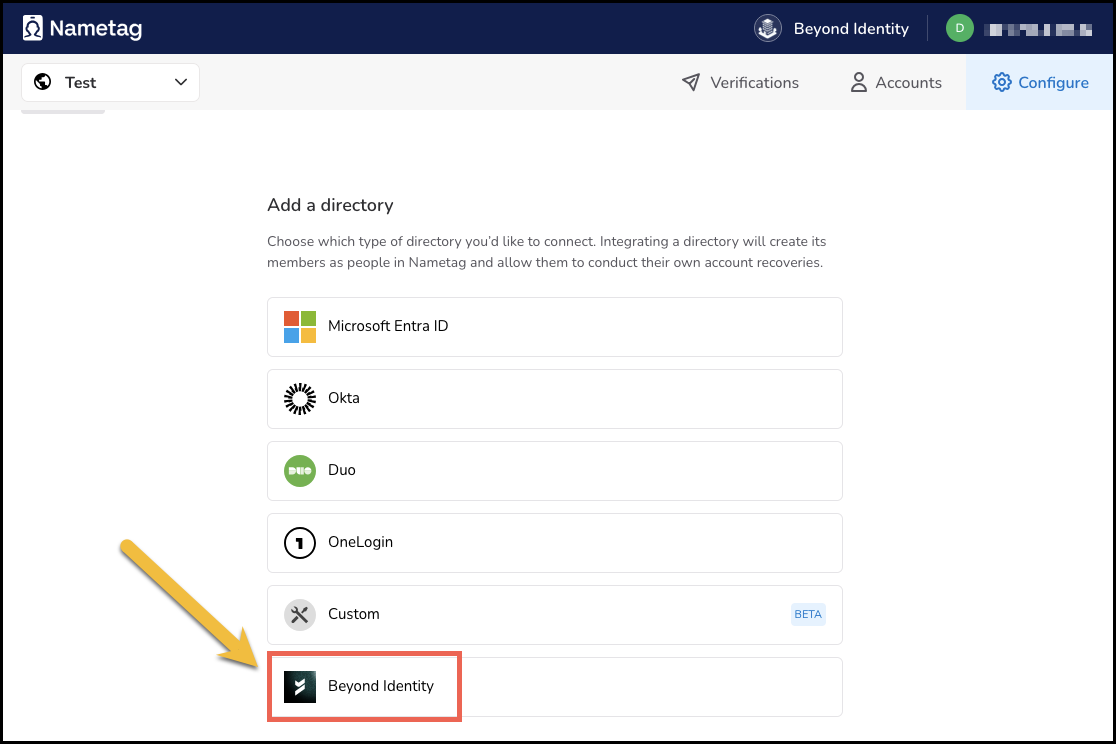
Click Add a directory.
-
Select Beyond Identity from the list.
Stay on this page — you will copy values from Beyond Identity into this form in the next steps.
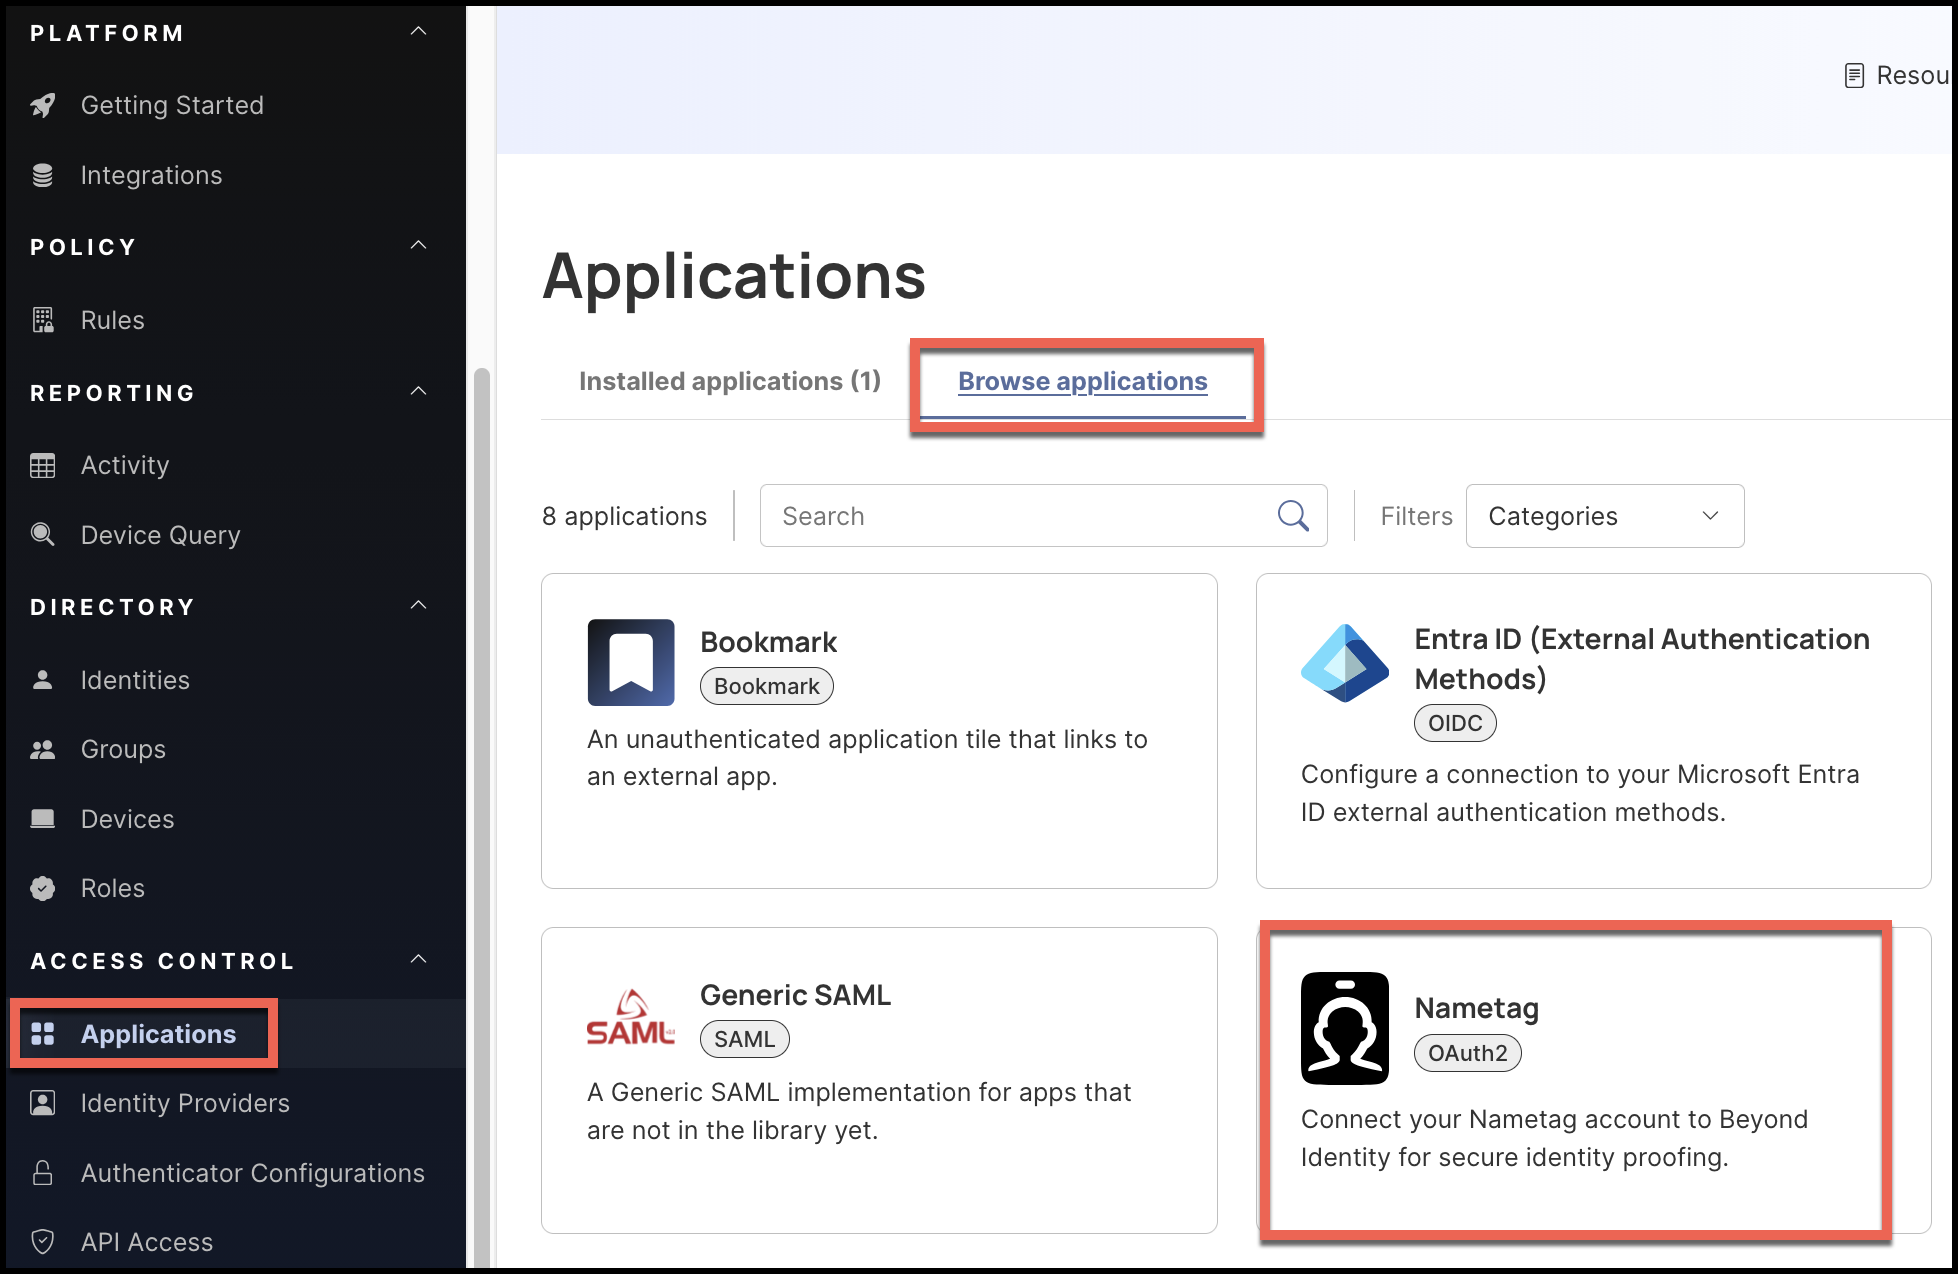
Step 3 — Add Nametag in Beyond Identity
Where: Beyond Identity Admin Console
-
Go to Applications.
-
Open the Browse Applications tab.
-
Select Nametag and add it to your tenant.
Beyond Identity will generate connection details that you will enter into Nametag.
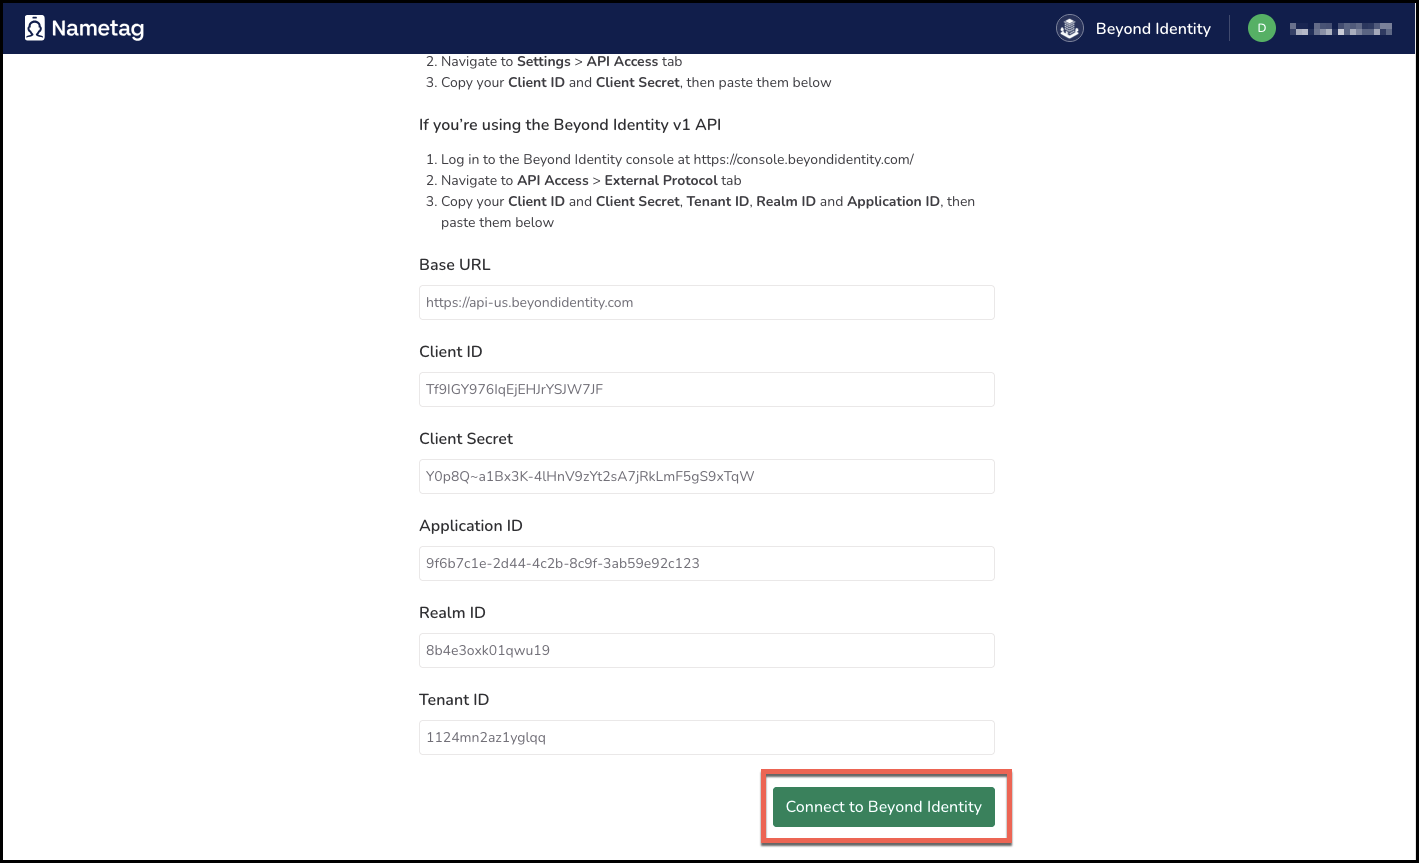
Step 4 — Map Beyond Identity values into Nametag
Where: Beyond Identity Console
Enter the following values from Beyond Identity to the new Nametag application:
| Field | Description |
|---|---|
| Base URL | API base URL for Beyond Identity |
| Tenant ID | Your Beyond Identity tenant ID |
| Realm ID | Your Beyond Identity realm ID |
| Application ID | Beyond Identity application ID for Nametag |
| Client ID | OAuth Client ID issued by Beyond Identity |
| Client Secret | OAuth Client Secret issued by Beyond Identity |
Click Save Changes.
Step 5 — Connect and validate synchronization
Where: Nametag Console
-
Click Connect to Beyond Identity.
-
Click Sync now and confirm that users from Beyond Identity now appear in Nametag.
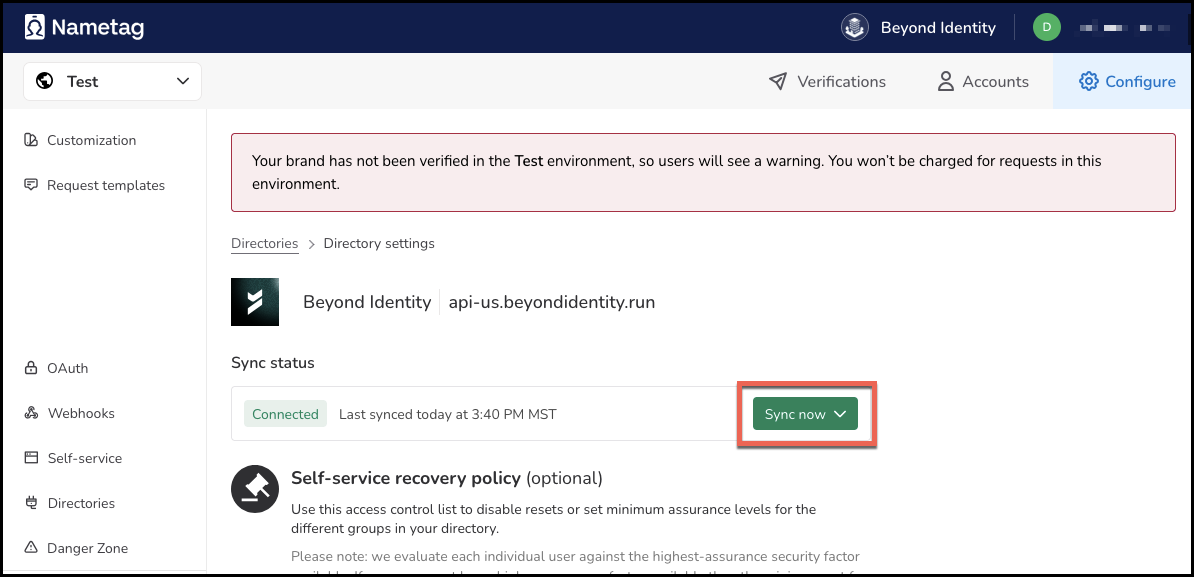
If synchronization fails, recheck credentials and retry.
Step 6 — Record the Nametag Directory Client ID
Where: Nametag Console
Locate and save the Client ID associated with this directory — you will need it in Part 2.
Part 2 — Configure Nametag as a Delegate IDP in Beyond Identity
This section registers Nametag as a Generic OIDC Identity Provider.
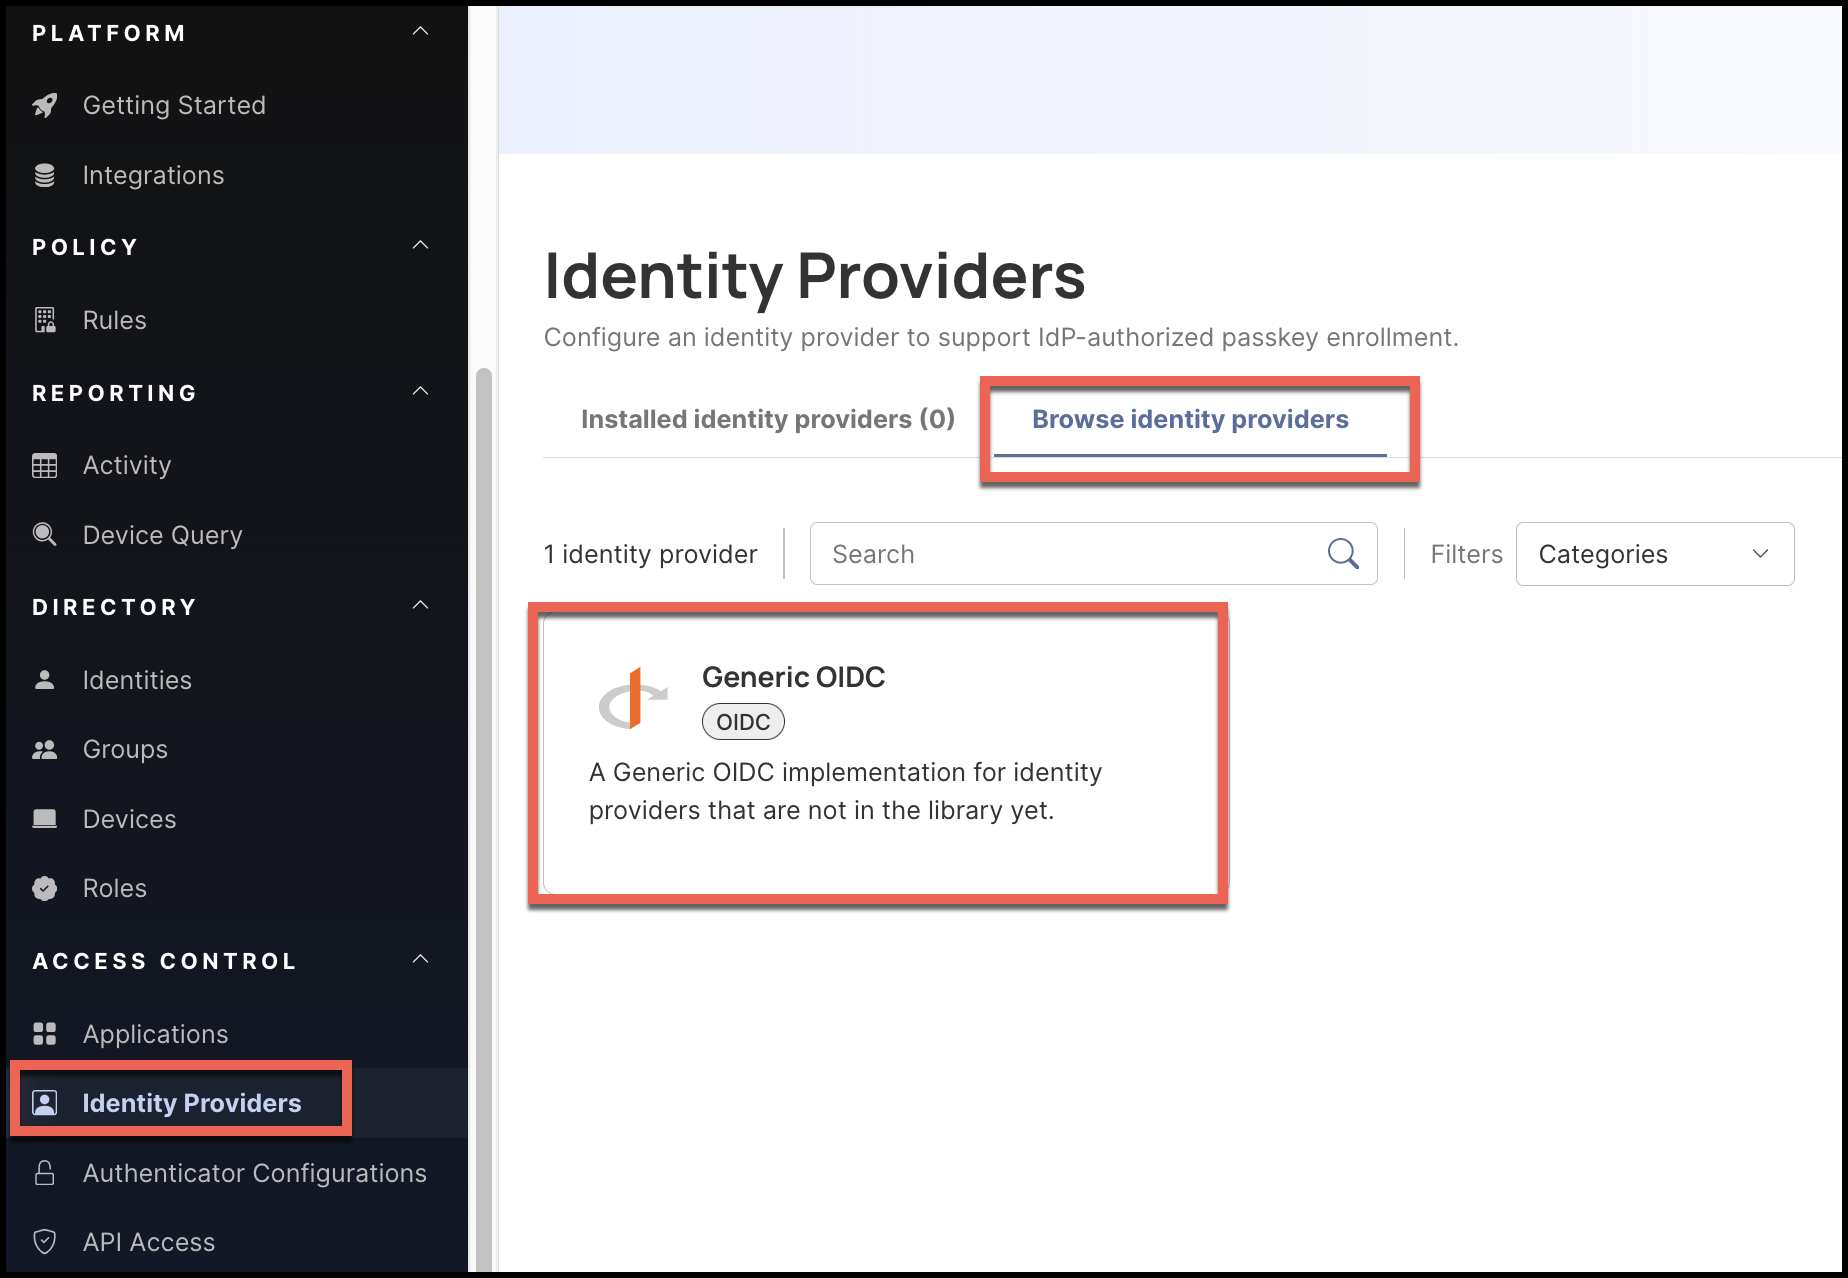
Step 1 — Add a Generic OIDC Provider
Where: Beyond Identity Admin Console
-
Go to Identity Providers.
-
Select Browse identity providers.
-
Choose Generic OIDC.
Enter the following values:
| Setting | Value |
|---|---|
| Display Name | Nametag |
| Client ID | Client ID from Directory Synchronization Step 6 |
| PKCE | disabled |
| OAuth 2PAR | ENABLE |
| PAR Endpoint | https://nametag.co/oauth2/par |
| Token Endpoint Auth Method | client_secret_basic |
| Token Scopes | openid |
| Authorization Endpoint | https://nametag.co/oauth2/authorize |
| Token Endpoint | https://nametag.co/oauth2/token |
| JWKS Endpoint | https://nametag.co/.well-known/jwks |
| Identifying Claim Name | account.immutable_external_id |
| Identifying Attribute | id |
| Requested Claims | {"id_token":{"account":null}} |
Step 2 — Create a Nametag API Key (Client Secret)
Where: Nametag Console
-
Go to OAuth → Create new API Key.
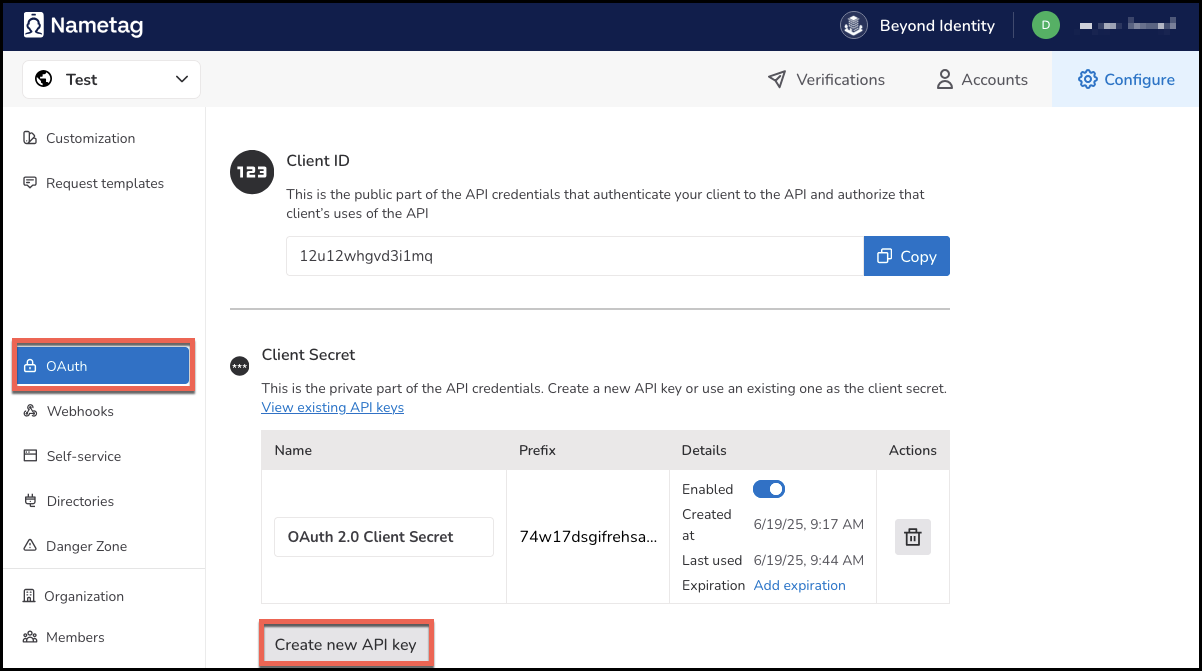
-
Generate a new secret.
-
Copy only the secret (do not reuse the Client ID).
Step 3 — Enter the secret in Beyond Identity
Where: Beyond Identity Admin Console
- Paste the Nametag secret into the Client Secret field.
- Click Save Changes.
Beyond Identity will generate a Redirect URI for this provider.
Step 4 — Register the Redirect URI in Nametag
- Copy the Redirect URI from Beyond Identity.
- In the Nametag Console, go to OAuth settings.
- Add this Redirect URI as an Authorized Callback URL.
- Save changes.
Final State
After completing these steps:
- Users are synchronized from Beyond Identity into Nametag.
- Nametag is registered as a delegate OIDC Identity Provider.
- You can now design enrollment flows that require Nametag verification after authentication with another IDP.
🎉 You are ready to use Nametag as part of your identity proofing workflow.